Building a Concrete Patio: Design, Installation, and Finishing
Start Your Transformation
A Step-by-Step Guide to Creating Your Perfect Outdoor Space
From Yard to Oasis: The Patio Process
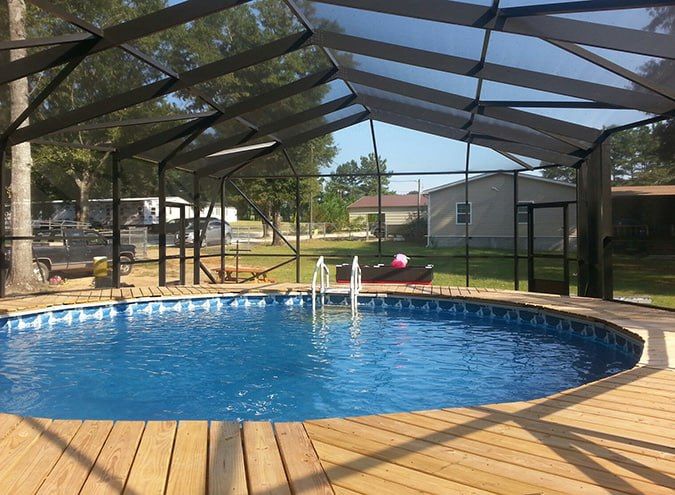
A concrete patio provides a strong and lasting foundation for your entire outdoor living area. It is the perfect surface for furniture, grills, and family gatherings. Building a high-quality patio involves several key stages, from initial design to the final finishing touches. Understanding this process helps you know what to expect when creating your new backyard oasis.
Step 1: Design and Site Preparation
Every great patio starts with a smart plan. The first step is to decide on the size and shape that best fits your yard and lifestyle. Once the design is set, the site must be professionally prepared. This involves clearing the area, then grading the soil to ensure water will drain away from your home. The ground is then compacted to create a firm, stable base for the concrete.
Step 2: Forming and Reinforcement
After the ground is prepared, wooden forms are built around the perimeter to create the exact shape of the patio. Inside these forms, a grid of steel reinforcement bars, or rebar, is placed. This steel grid gives the concrete incredible tensile strength, which is vital for preventing cracks and ensuring the patio lasts for decades. This step is a critical part of a professional patio installation.
Brevard, Indian River & St. Lucie's trusted screen enclosure, concrete, paver and outdoor kitchen experts! Call now for fast, affordable new screen enclosure, concrete, paver and outdoor kitchen installation.
Call us at ☎ 772-758-5372
Step 3: The Concrete Pour and Leveling
With the forms and rebar in place, it is time to pour the concrete. A professional team, like the experts at Right Way, works efficiently to spread the concrete throughout the forms. A long, straight tool called a screed is used to level the wet concrete, ensuring a flat and even surface. We always use a concrete mix with the correct strength (PSI) for a durable, long-lasting patio slab.
Step 4: Finishing and Curing
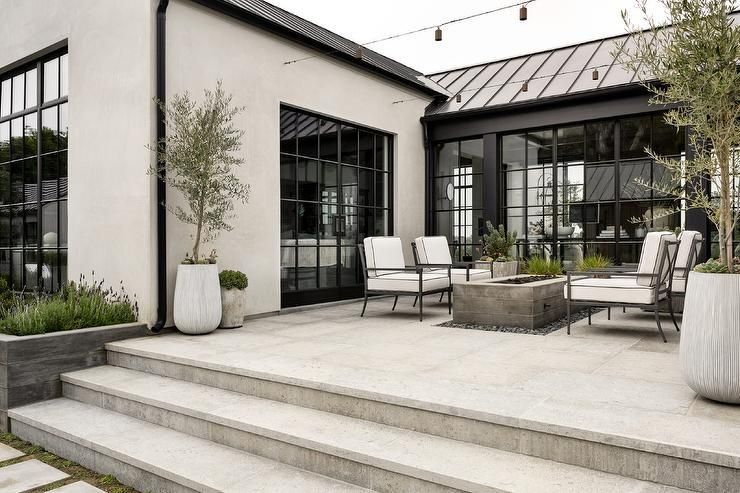
Once the concrete is level, the finishing work begins. The most common choice is a classic broom finish, which creates a non-slip texture. This is also the stage where decorative options like stamping a pattern or adding color can be done. After finishing, the concrete must cure, a chemical process where it hardens and gains strength over several days.
Build Your Perfect Patio with Right Way
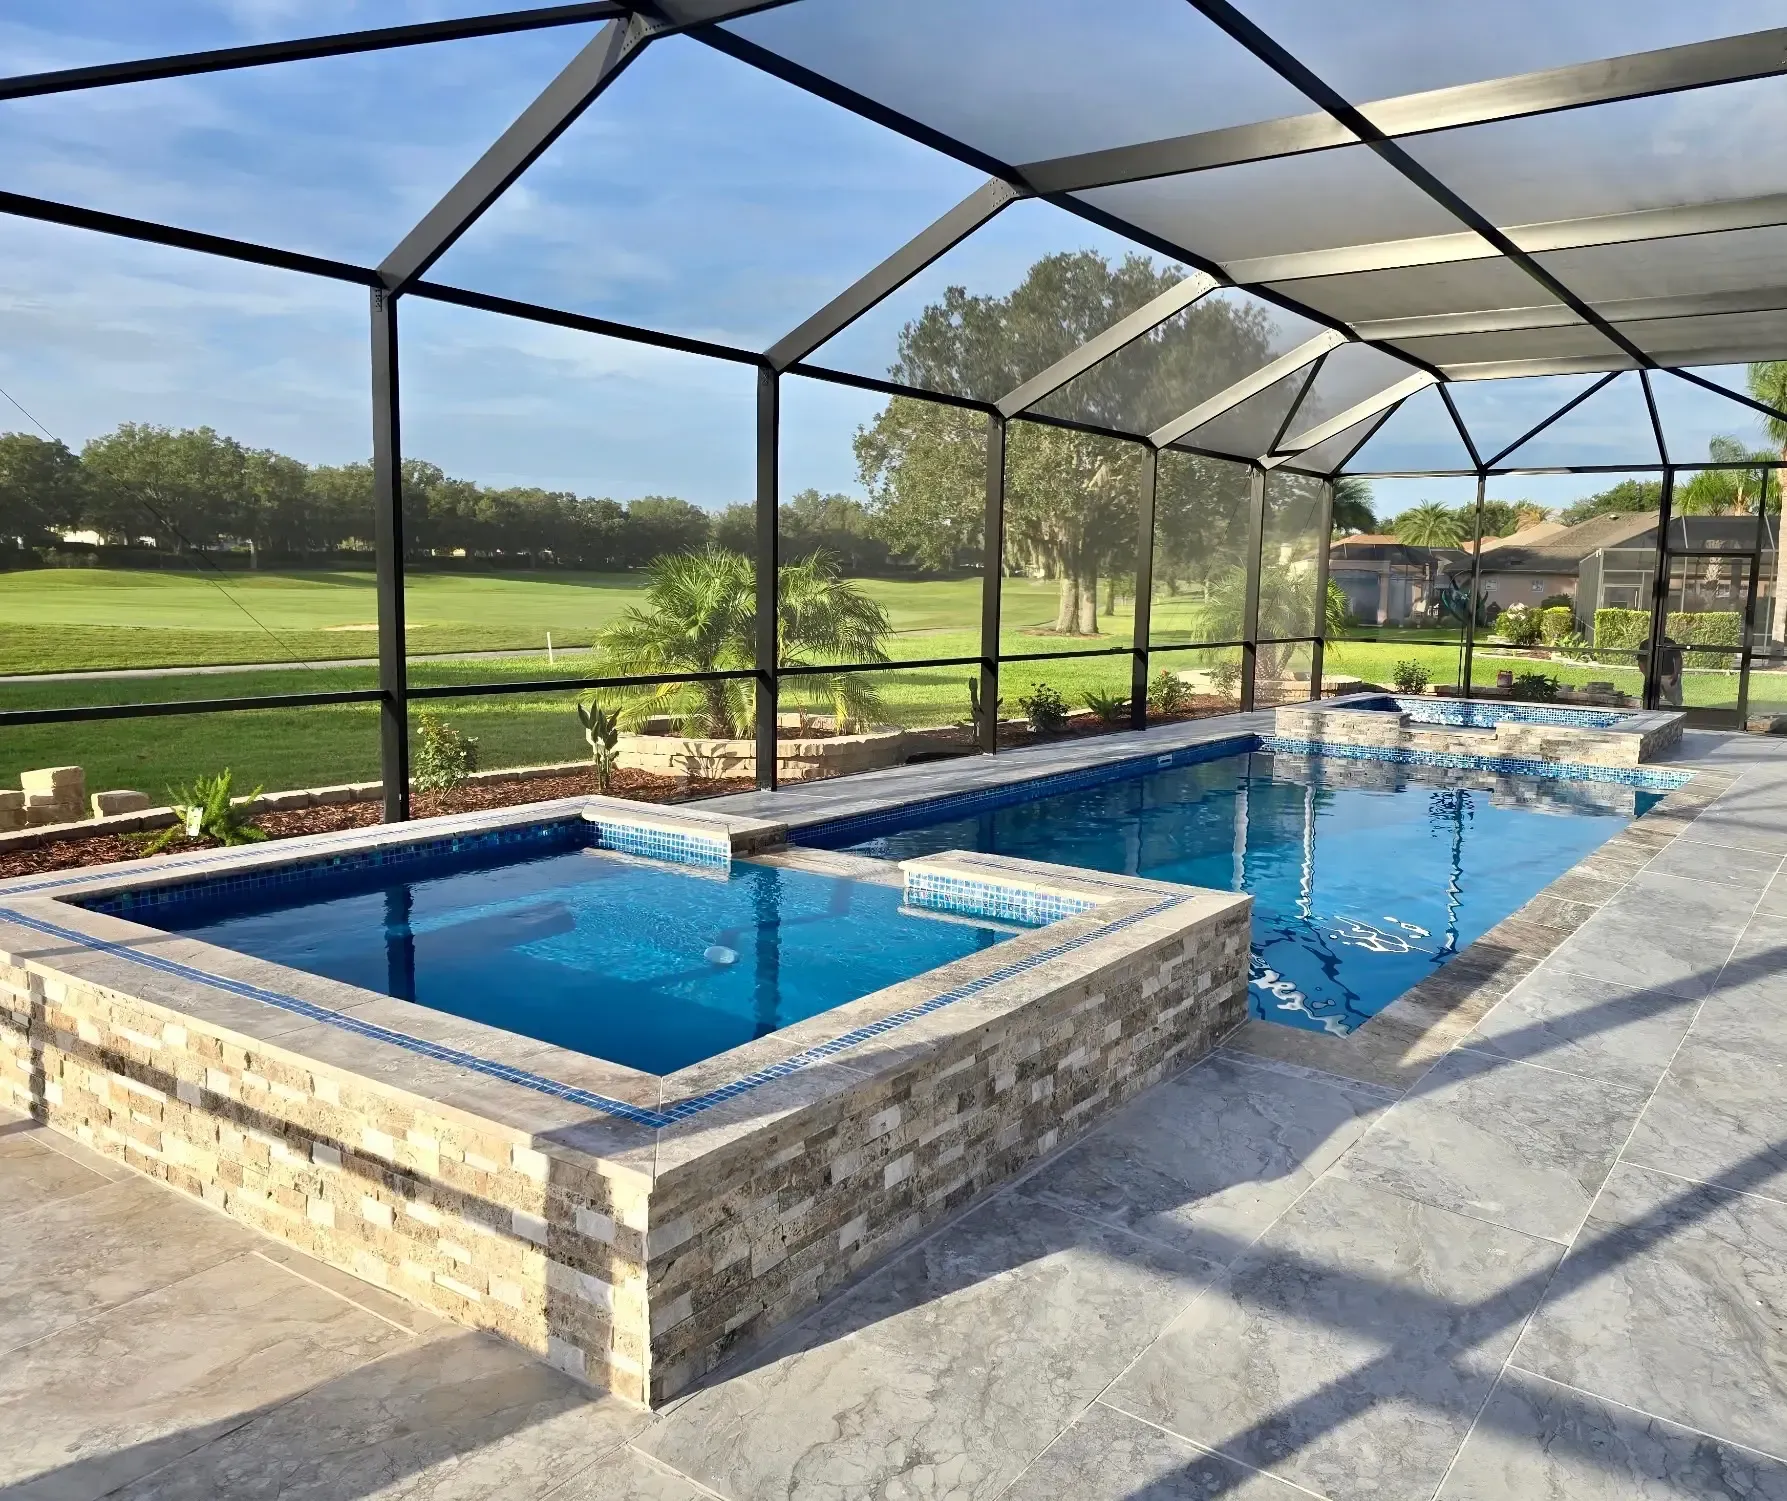
A high-quality concrete patio is the result of careful work at every stage, from the compacted base to the final cure. Our experienced team handles the entire process to deliver a beautiful and durable outdoor living space. Contact Right Way today for a free consultation and quote on your new concrete patio project in Vero Beach.
Frequently Asked Questions
How long does it typically take to install a new concrete patio?
The timeline can vary, but for an average-sized patio, the process of preparation, forming, and pouring often takes 2 to 4 days. After that, the concrete needs several days to cure before it can be walked on and about a week before placing heavy furniture on it.
What is the best finish for a concrete patio in Florida?
A broom finish is the most popular and practical choice. It creates a simple, clean look with a slip-resistant texture that is safe for rainy weather and around pools. For a more decorative look, a stamped or knockdown texture finish is also an excellent option.
Why is the curing process so important for new concrete?
Curing is the chemical reaction that gives concrete its strength. If new concrete dries out too quickly, especially in the hot Florida sun, this reaction stops, and the concrete will not reach its full potential strength. Proper curing ensures maximum durability.
Brevard, Indian River & St. Lucie's trusted screen enclosure, concrete, paver and outdoor kitchen experts! Call now for fast, affordable new screen enclosure, concrete, paver and outdoor kitchen installation.
Call us at ☎ 772-758-5372