How We Install a Quartz Sand Epoxy Floor: A Step-by-Step Guide
Bring Your Outdoor Oasis to Life!
From Concrete Grinding to the Final Topcoat, Here’s How Right Way Installs a Perfect, Lasting Finish
A Professional Process for a Perfect Floor
A 
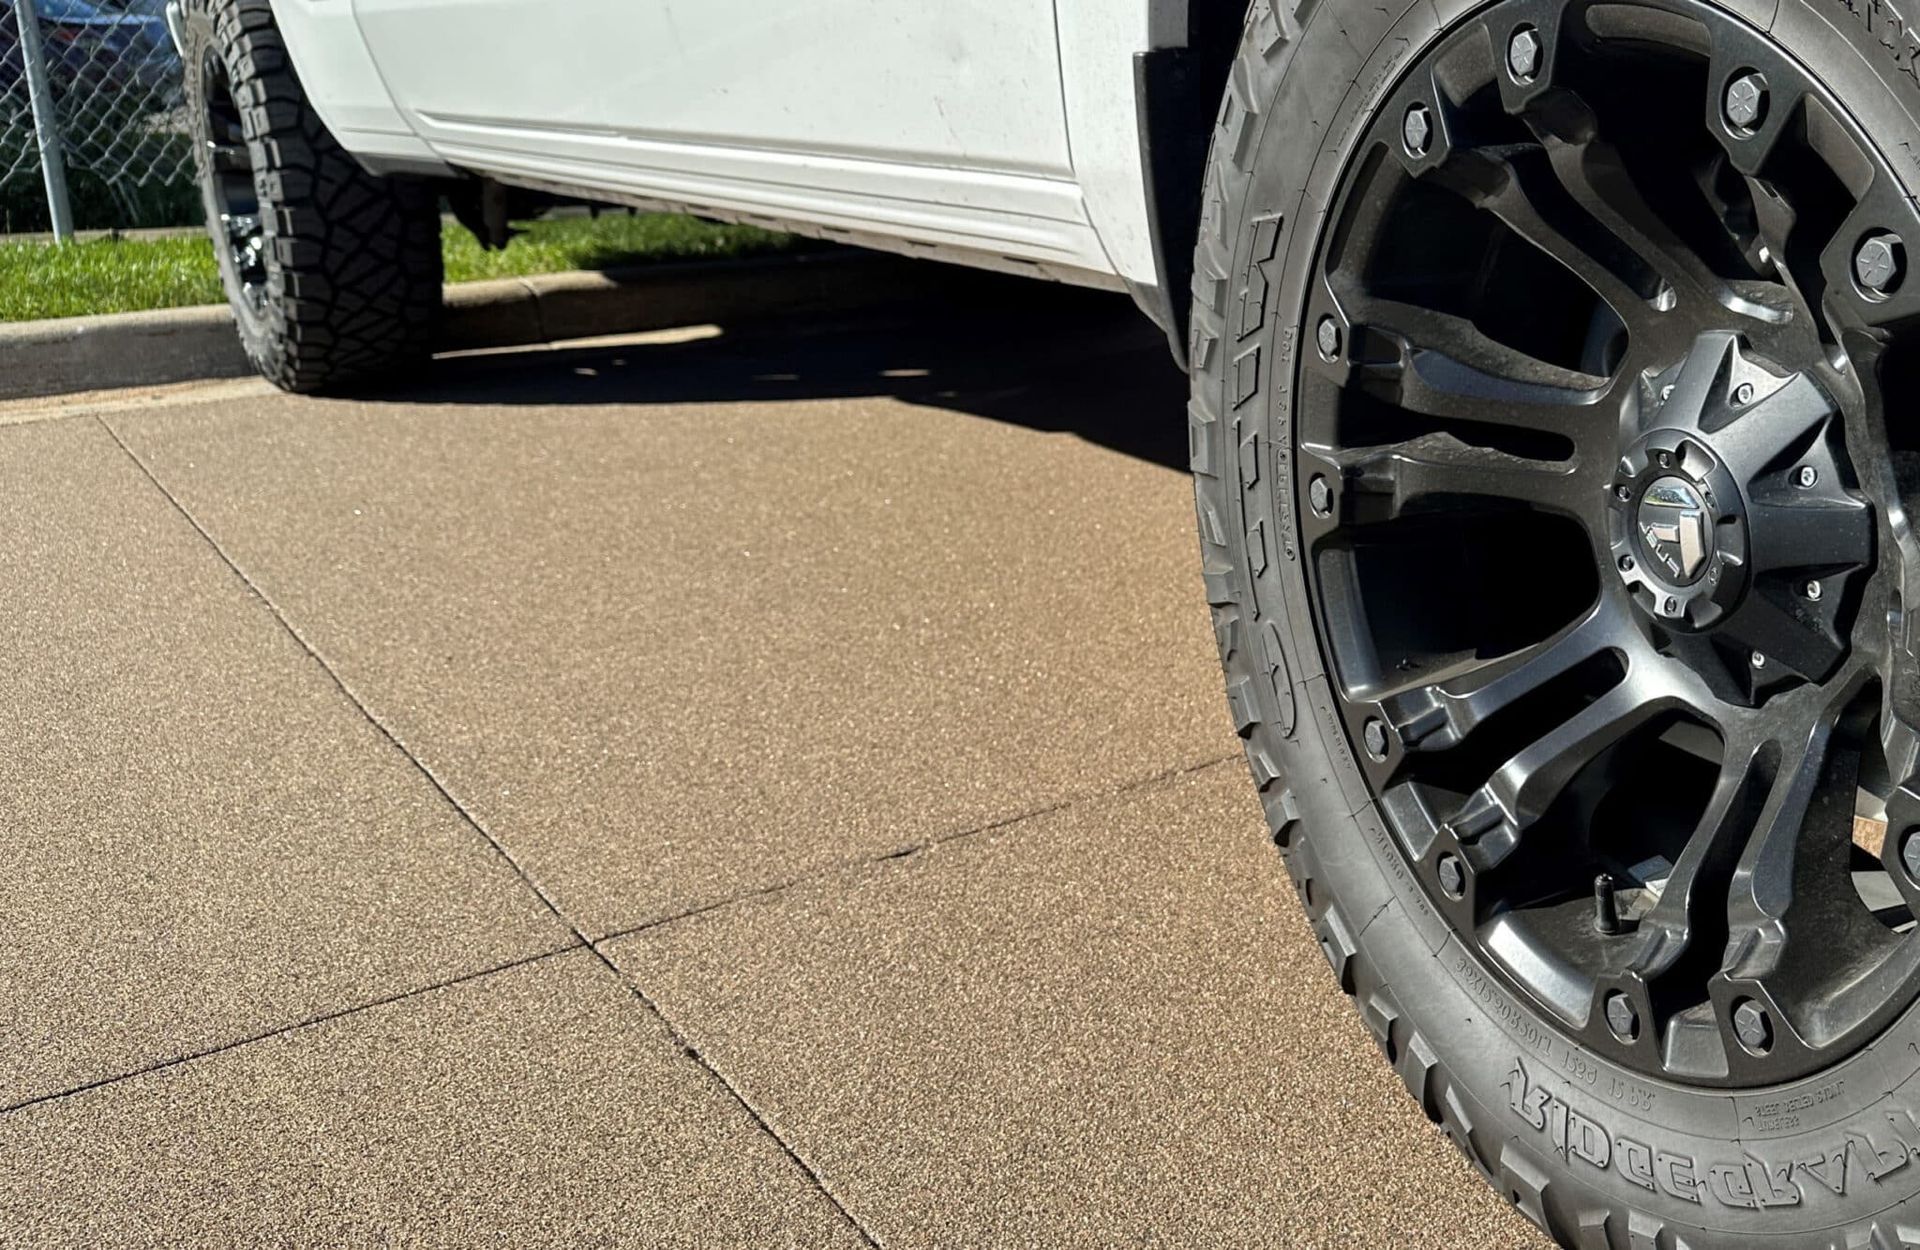
high-performance quartz sand epoxy floor is not a simple paint job; it is a multi-step system where every stage is critical for a lasting result. Understanding the professional installation process shows you the value and durability built into your new floor. At Right Way, we follow these proven steps to guarantee a beautiful, permanent bond for your garage, patio, or driveway.
Step 1: The Most Important Step - Concrete Grinding
You cannot have a strong floor without proper preparation. We begin by diamond-grinding the entire concrete surface. This process removes any old, failed coatings, sealers, and surface stains. More importantly, it opens up the pores of the concrete, creating a rough profile. This step is essential for the epoxy to achieve a deep, mechanical bond that will not peel or lift.
Step 2: Concrete Repair and Base Coat
After grinding, we repair any cracks, chips, or spalling in the concrete with a professional-grade mender. Once the surface is prepared, we apply the tinted epoxy base coat. This coat is the foundation of the entire system. It soaks into the prepared concrete, creating the permanent bond that the rest of the floor is built on.
Brevard, Indian River & St. Lucie's trusted screen enclosure, concrete, paver and outdoor kitchen experts! Call now for fast, affordable new screen enclosure, concrete, paver and outdoor kitchen installation.
Call us at ☎ 772-758-5372

Step 3: The Full Quartz Broadcast
While the epoxy base coat is still wet, we broadcast a thick layer of colored quartz sand over the entire surface until the epoxy is completely covered. This "full broadcast" is what gives the floor its deep color, texture, and incredible impact resistance. We let this layer cure completely, locking the quartz minerals into the epoxy.
Step 4: The Final Protective Topcoat
Once the base coat is cured, we sweep off all the excess, loose quartz sand. The final step is to roll on the clear polyaspartic topcoat. This advanced topcoat is extremely durable, chemical-resistant, and 100% UV stable, so it will not yellow in the Vero Beach sun. It flows over the quartz, sealing the entire floor and making it non-porous and easy to clean.
A Floor Built to Last by Right Way
This detailed, multi-day process is what makes a quartz sand system a premium, long-term investment. From the diamond grinding to the final topcoat, our team is trained to do it right. Contact Right Way today for a
free consultation and to learn more about our professional concrete resurfacing process.
Frequently Asked Questions
How long does this entire installation process take?
A typical installation for a garage or driveway takes 2 to 3 days. Day 1 is for grinding, repair, and applying the base coat and quartz. Day 2 (or 3) is for the final topcoat. The floor is then ready for light foot traffic in 24 hours and vehicle traffic in 48-72 hours.
Why is diamond grinding better than acid etching?
Acid etching is a less effective, DIY method that can be unreliable and messy. Diamond grinding is the professional standard. It is a dry, clean process (with vacuums) that physically opens the concrete, guaranteeing a consistent and much stronger bond than acid etching ever can.
What happens if you skip the concrete grinding step?
If you skip grinding, the epoxy will be applied to a smooth, "closed" surface. It will have no way to get a deep bond and will be stuck only to the weak top layer of the concrete. This will lead to the coating peeling up, often in just a few months.
Brevard, Indian River & St. Lucie's trusted screen enclosure, concrete, paver and outdoor kitchen experts! Call now for fast, affordable new screen enclosure, concrete, paver and outdoor kitchen installation.
Call us at ☎ 772-758-5372


